6. Complete the device setup
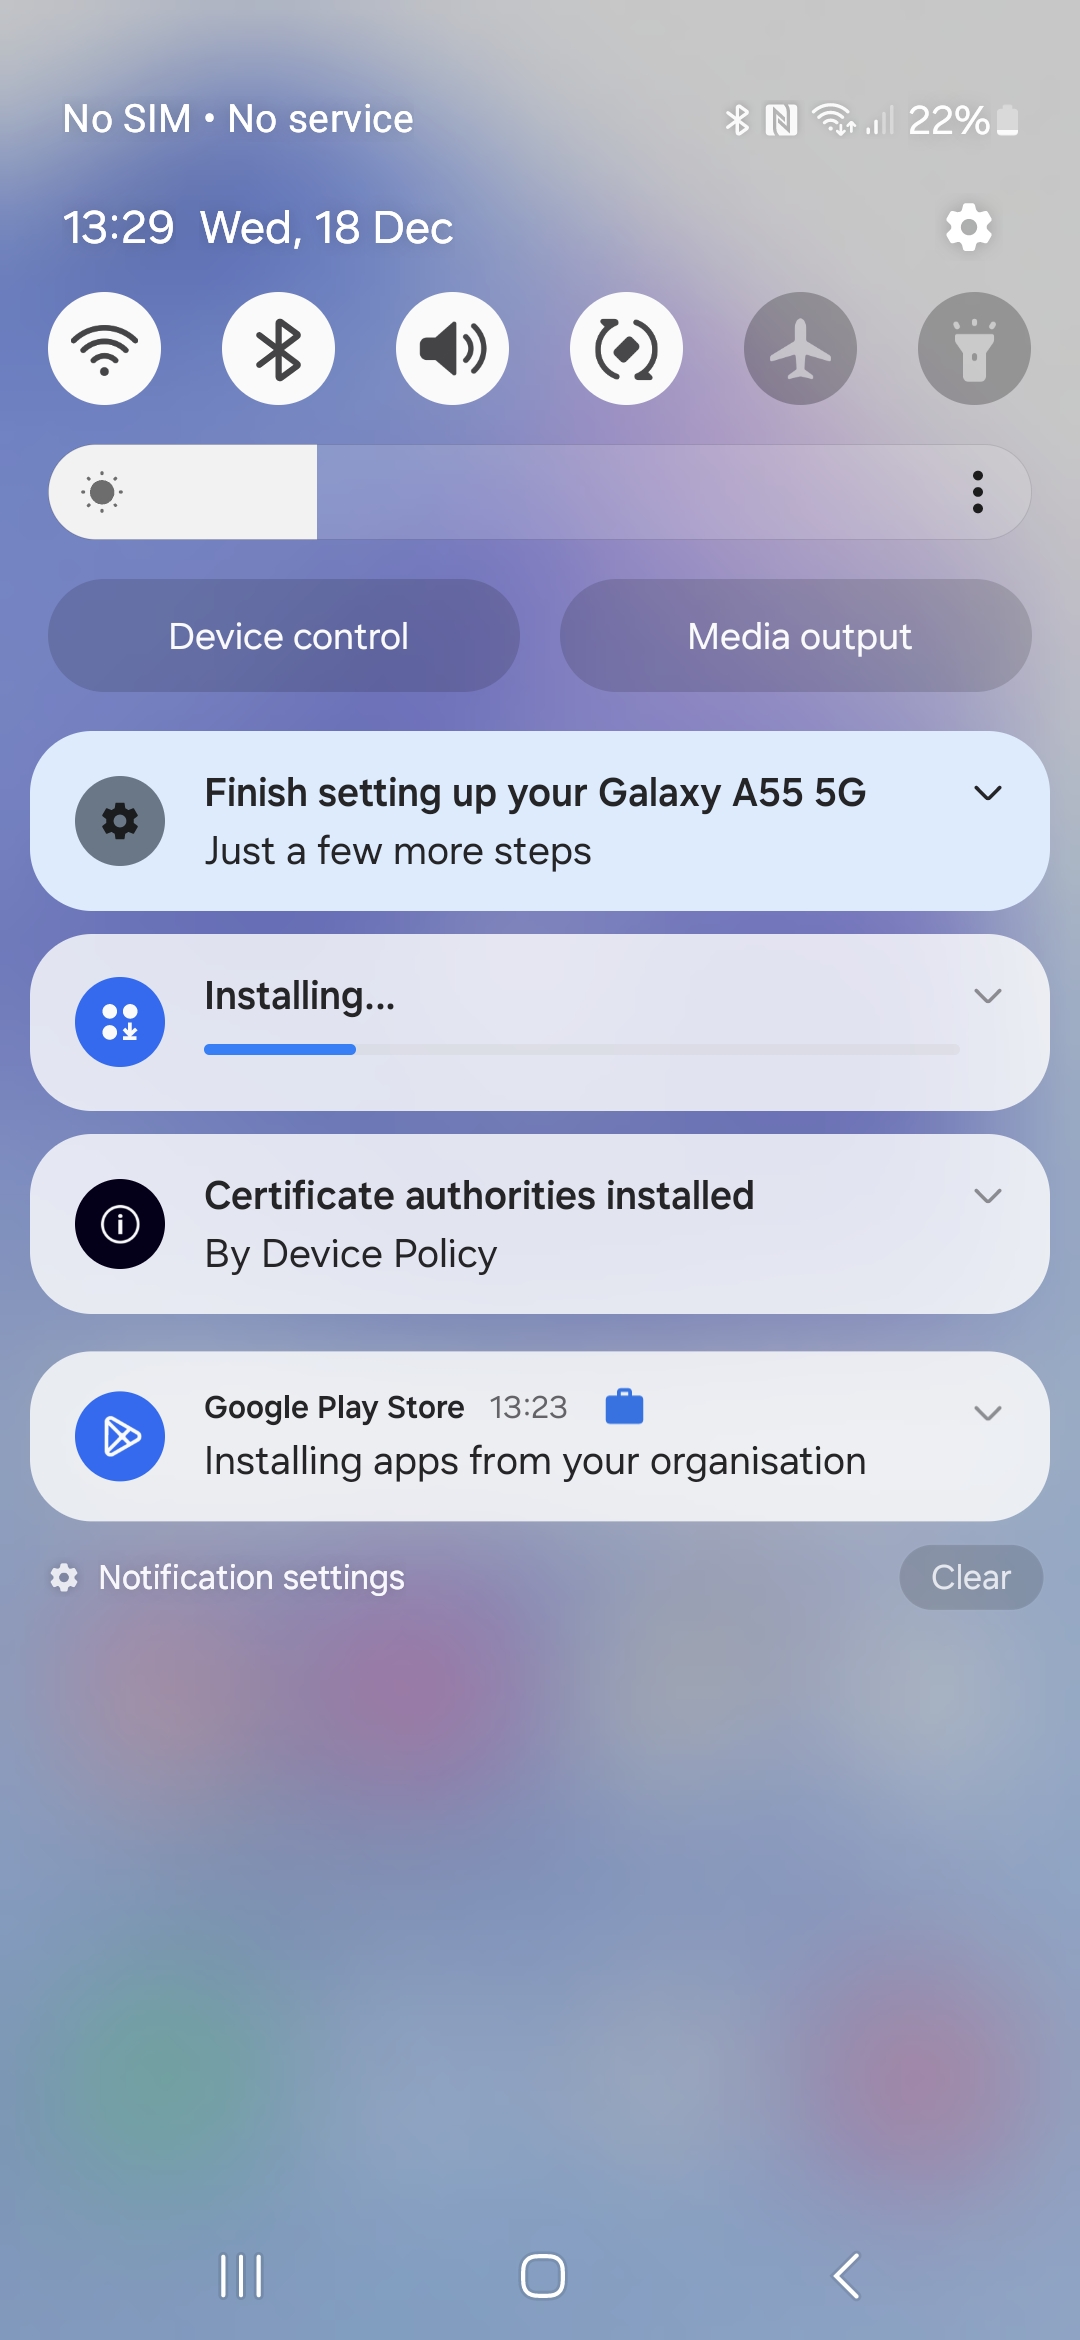
Your device is now linked to our infrastructure and can be set up for further use. Tap on the Finish setting up notification in the menu bar.
6.1 Apps and data
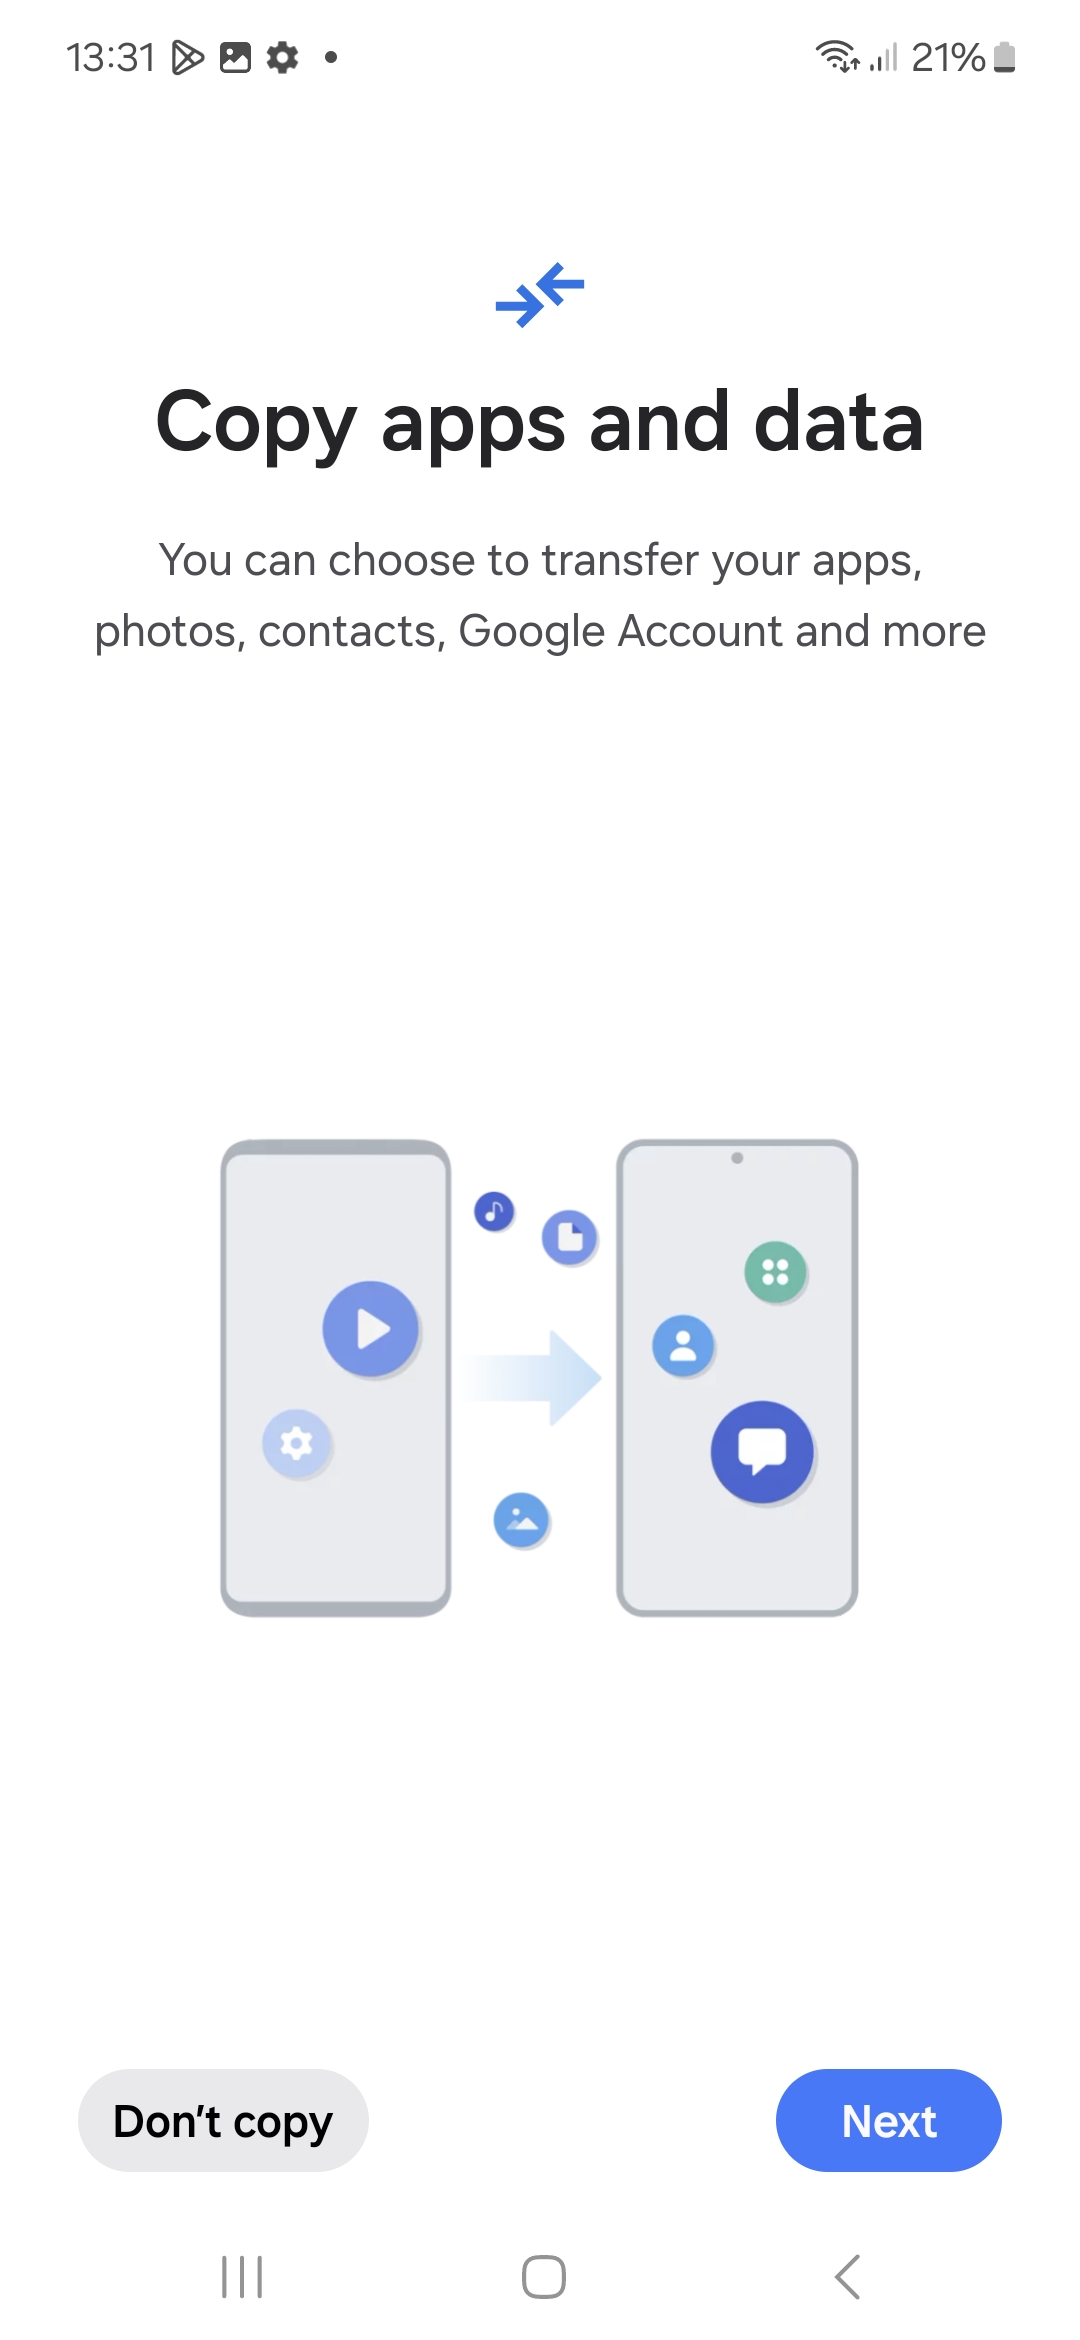
If necessary, confirm the request to transfer data from an old device with Don´t copy.
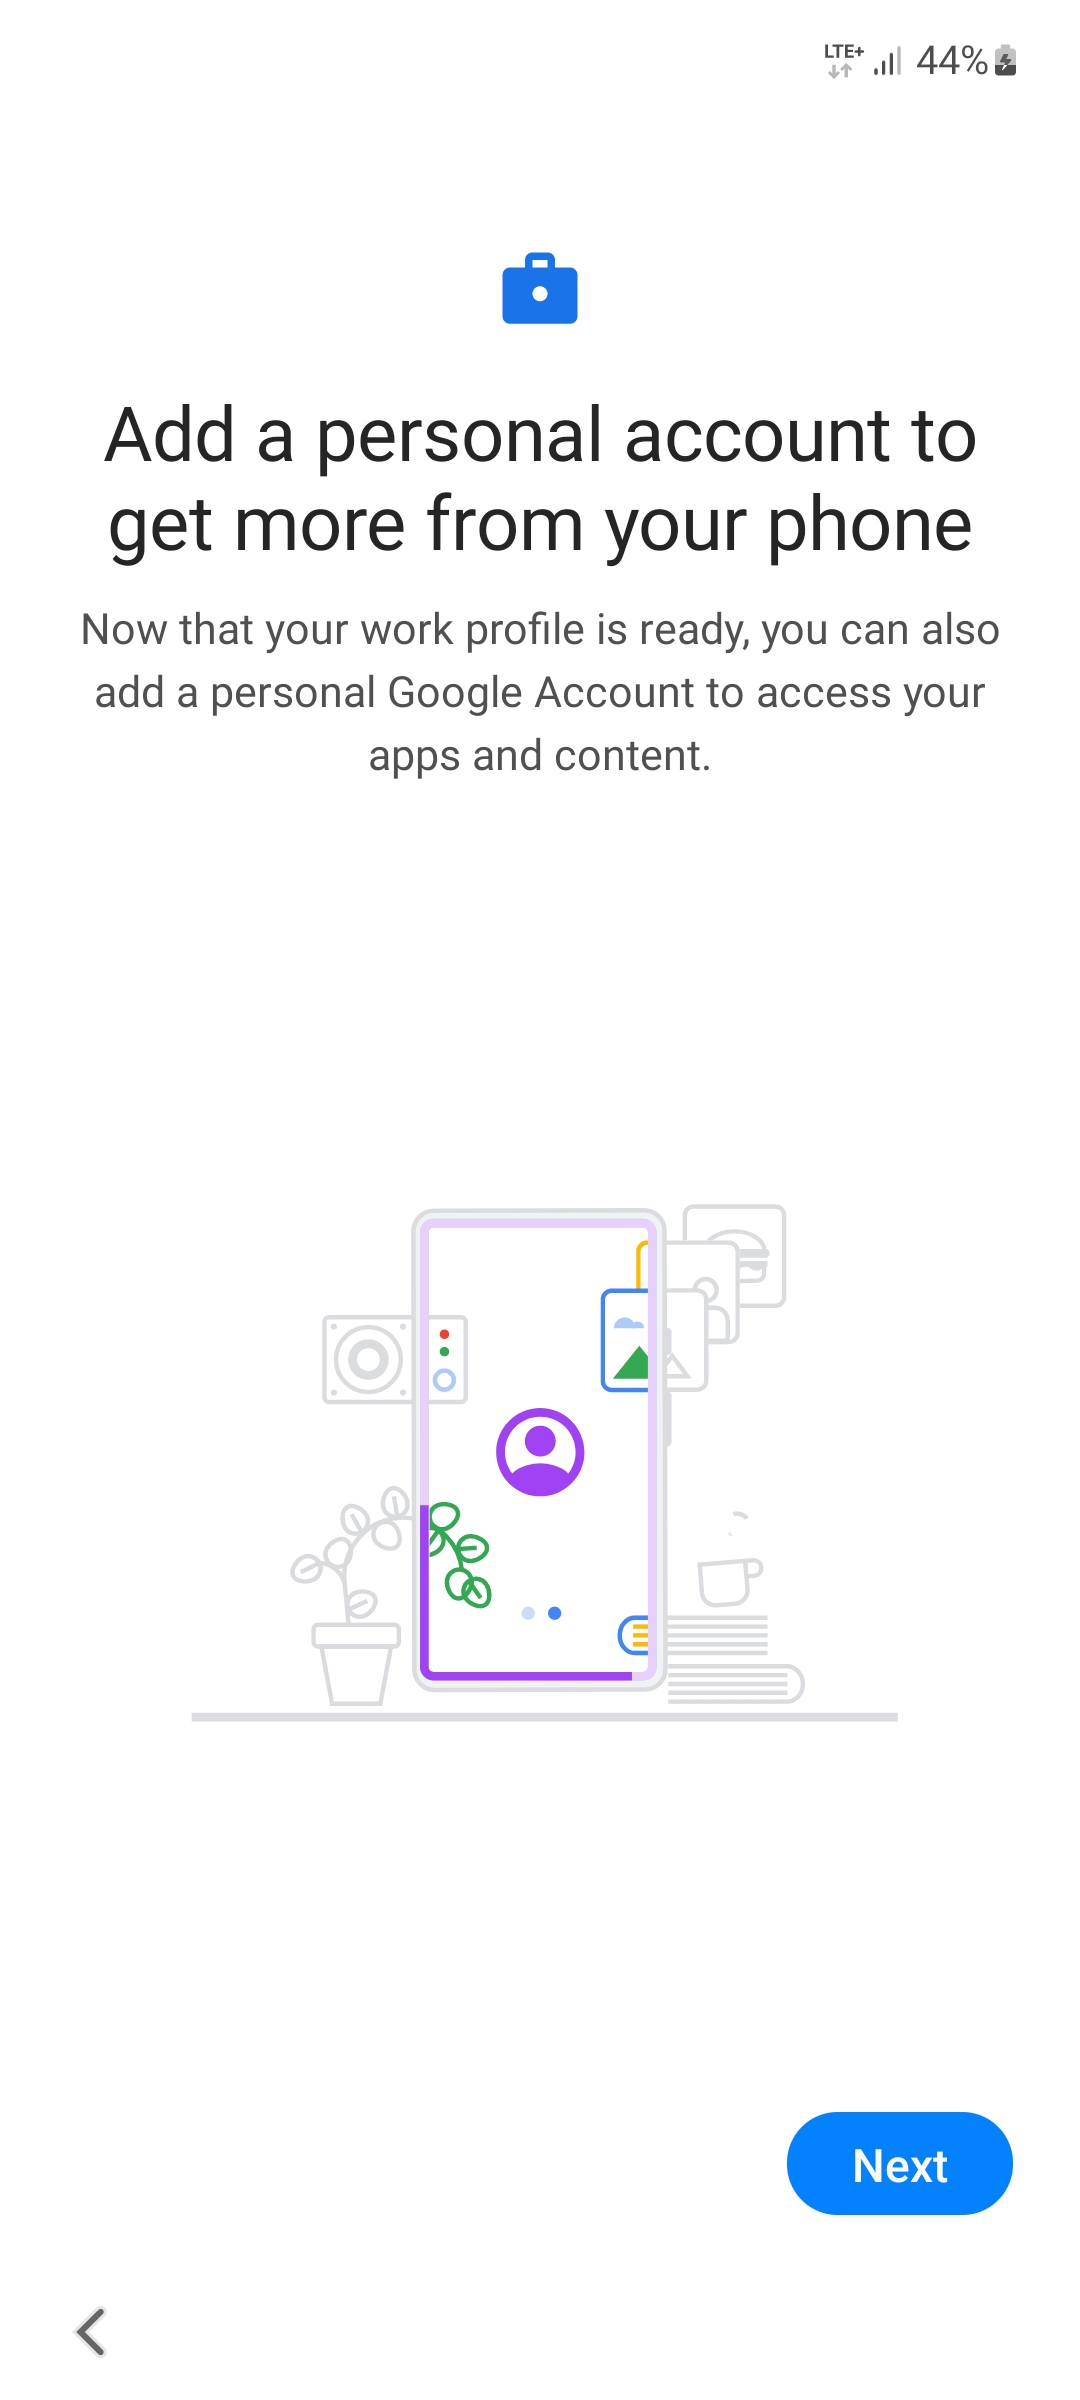
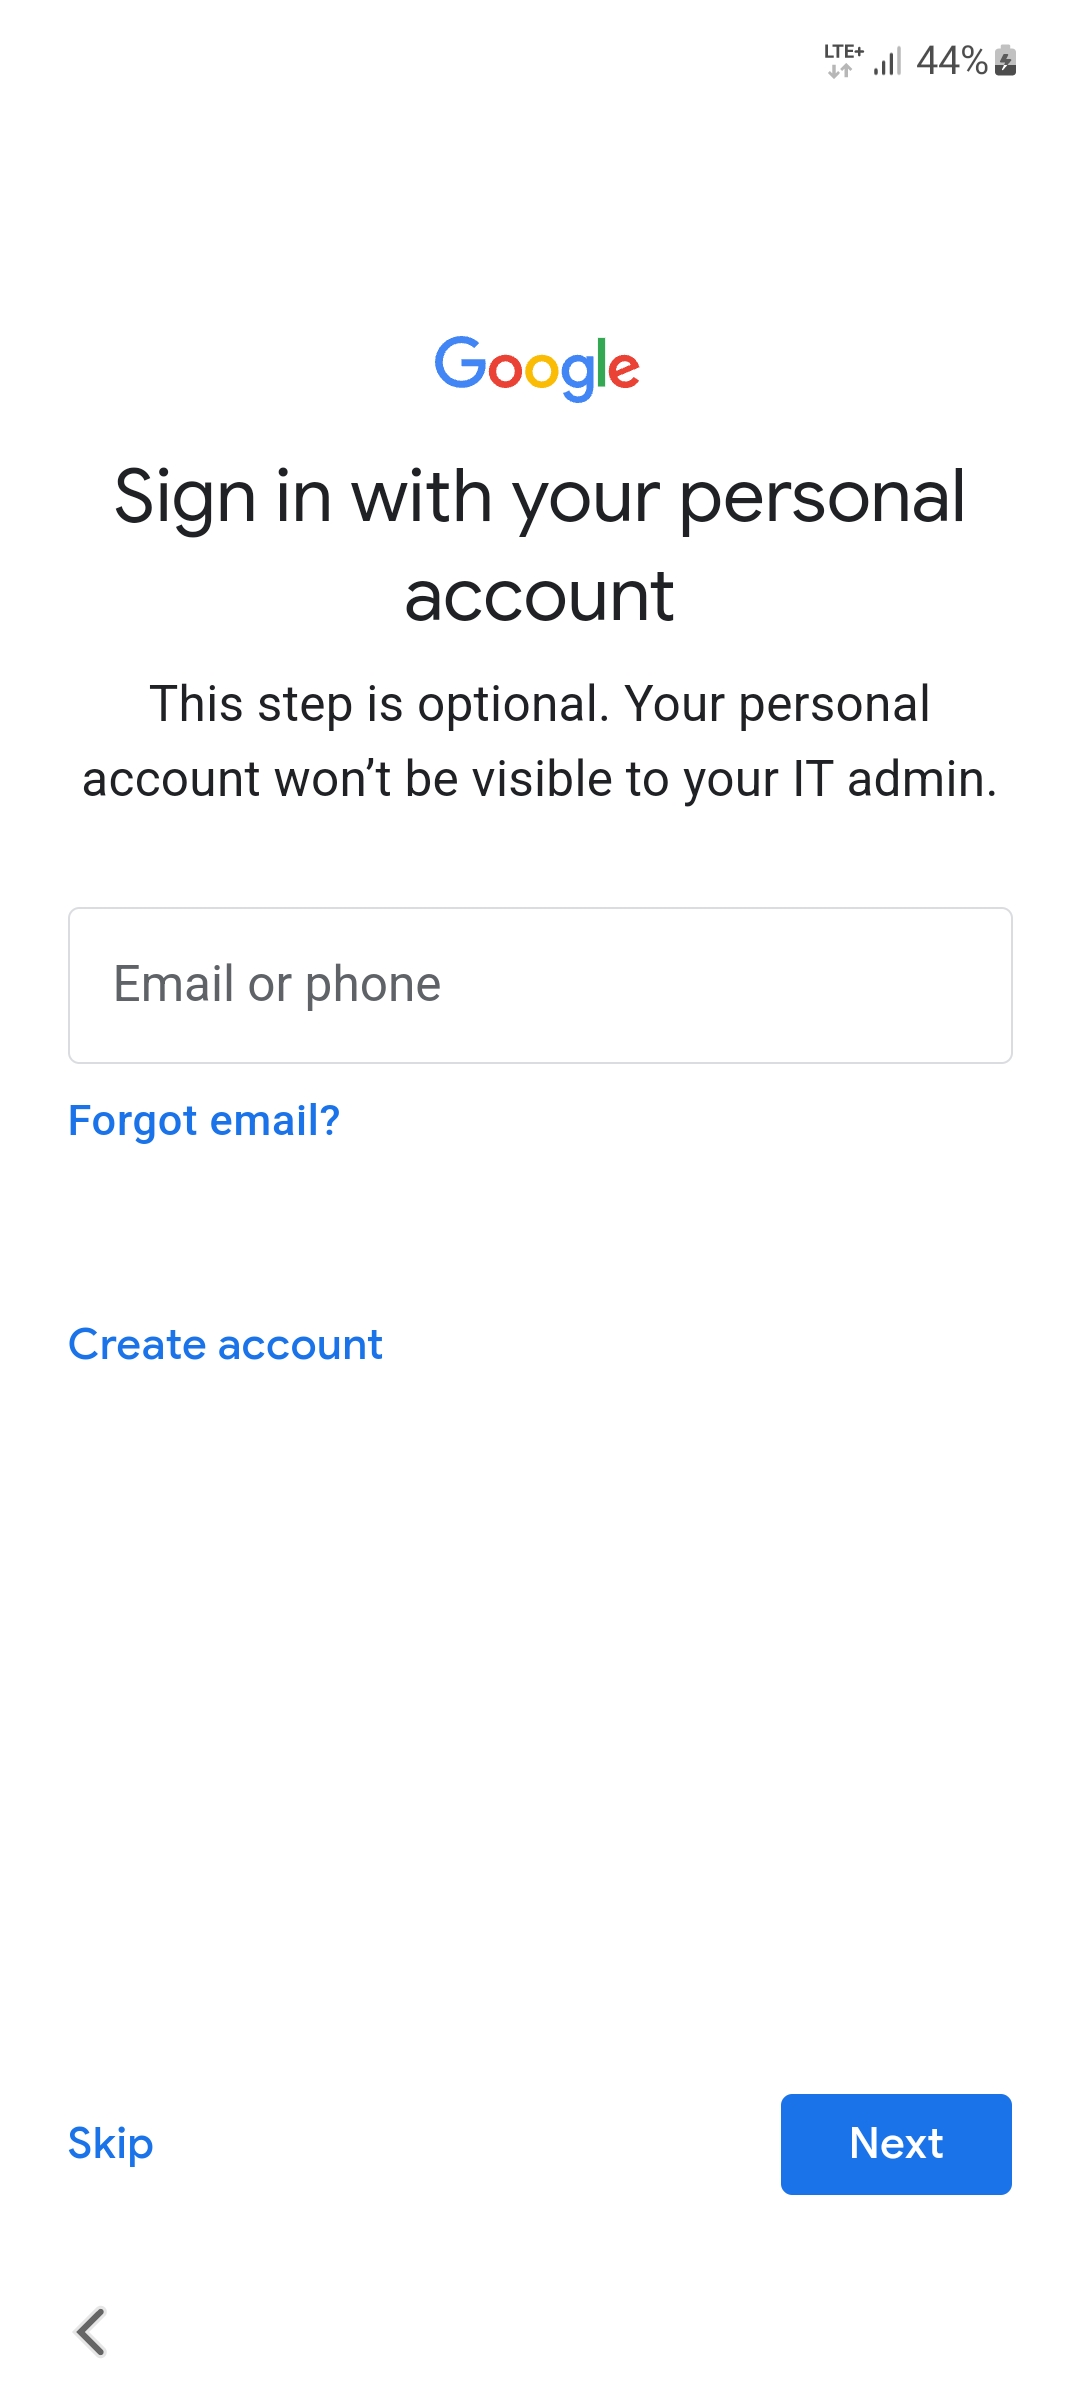
6.2 Personal account (optional)
Note
You do not need to create a Google account for business use of the smartphone. If you like to use this smartphone with private apps, please read the terms of use first.
Tap Next to continue and then tap Skip.
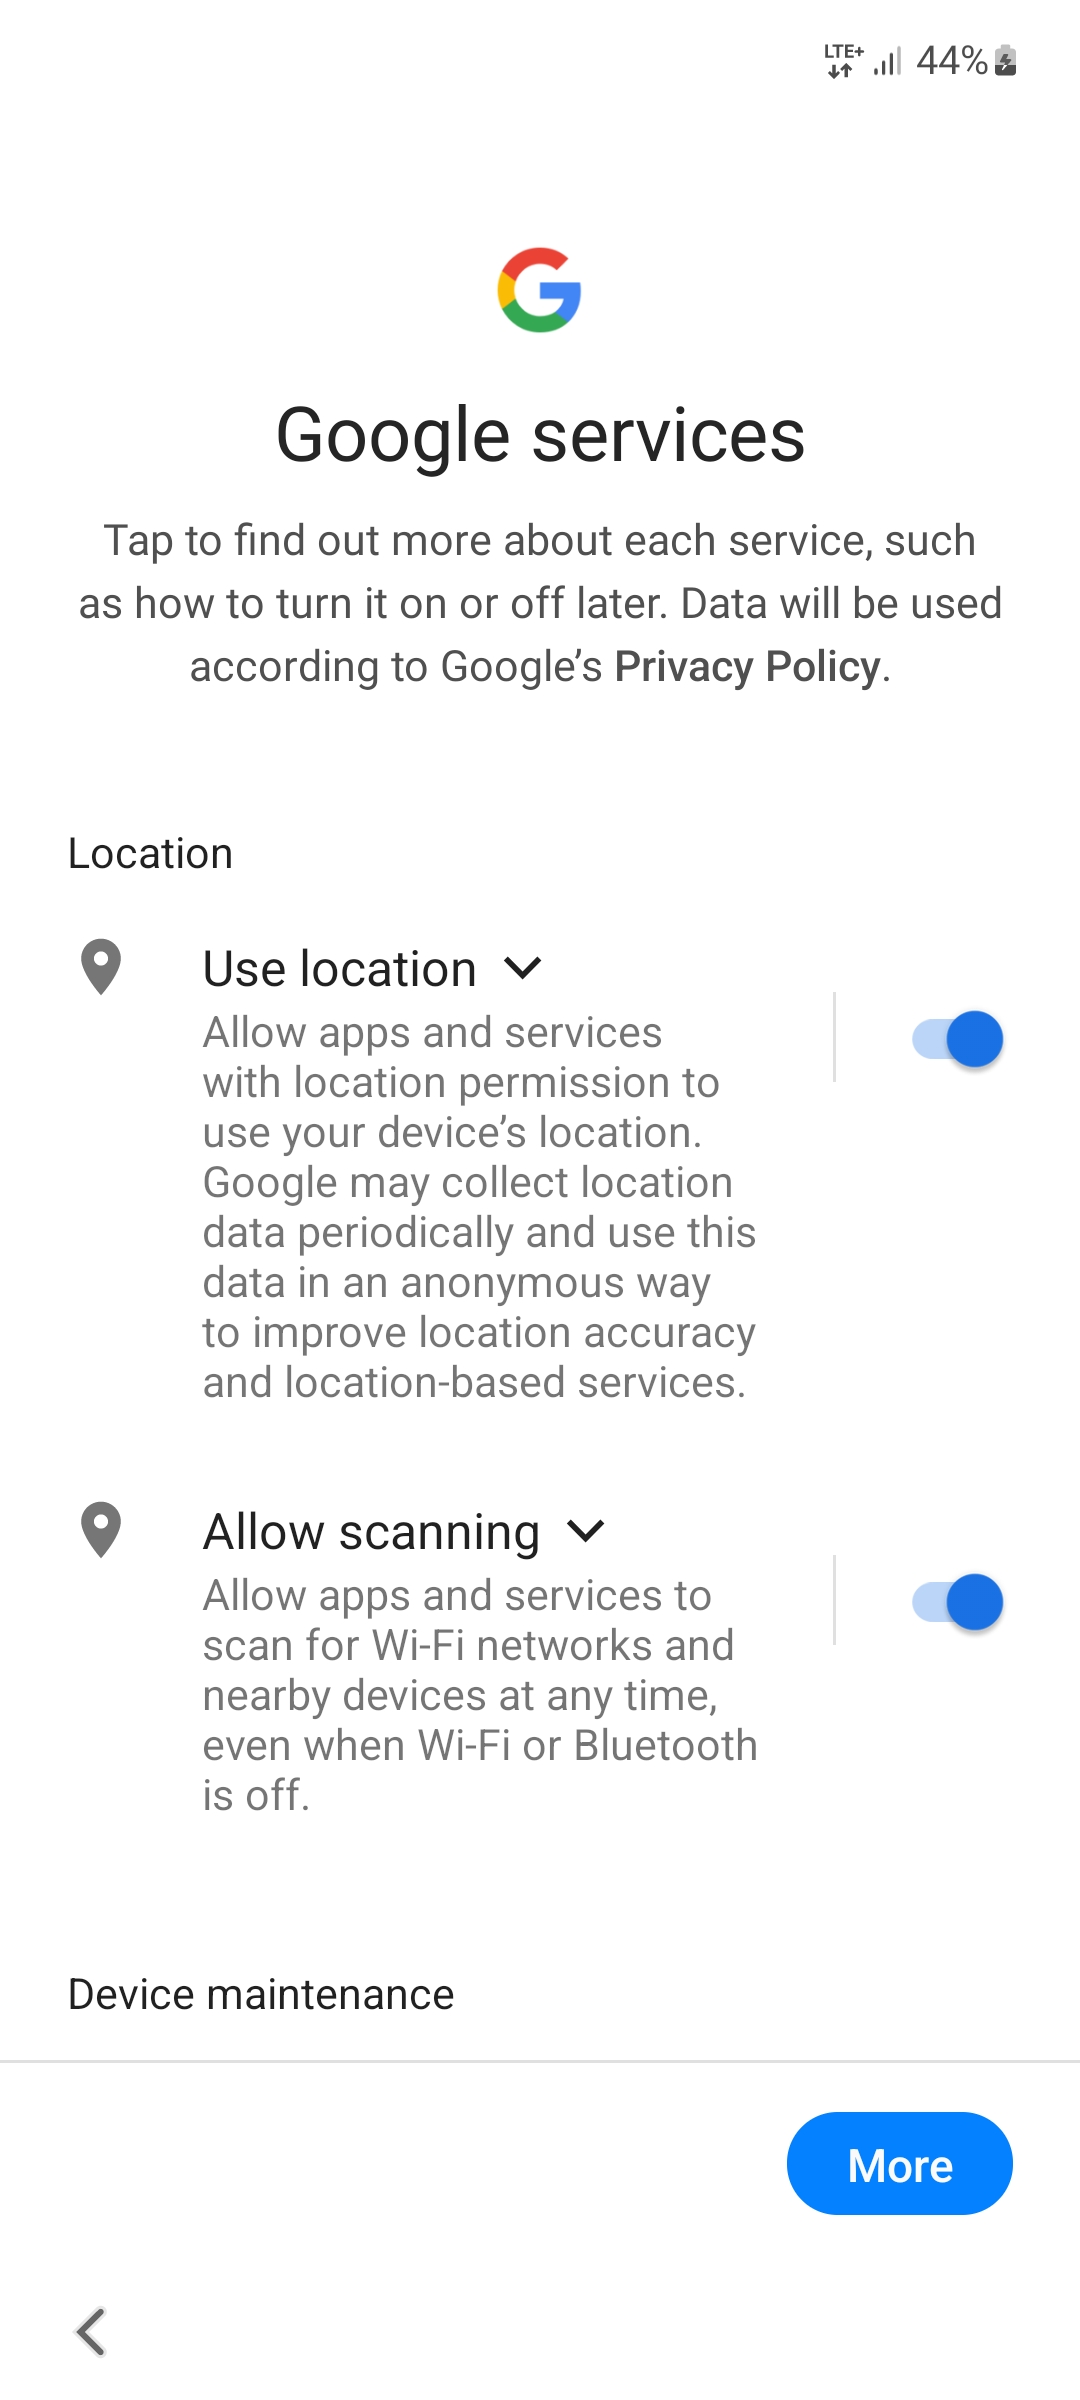
6.3 Google Services
Enable or disable Google services as you wish and tap Accept at the very bottom. The settings shown in the screenshots are our recommendation.
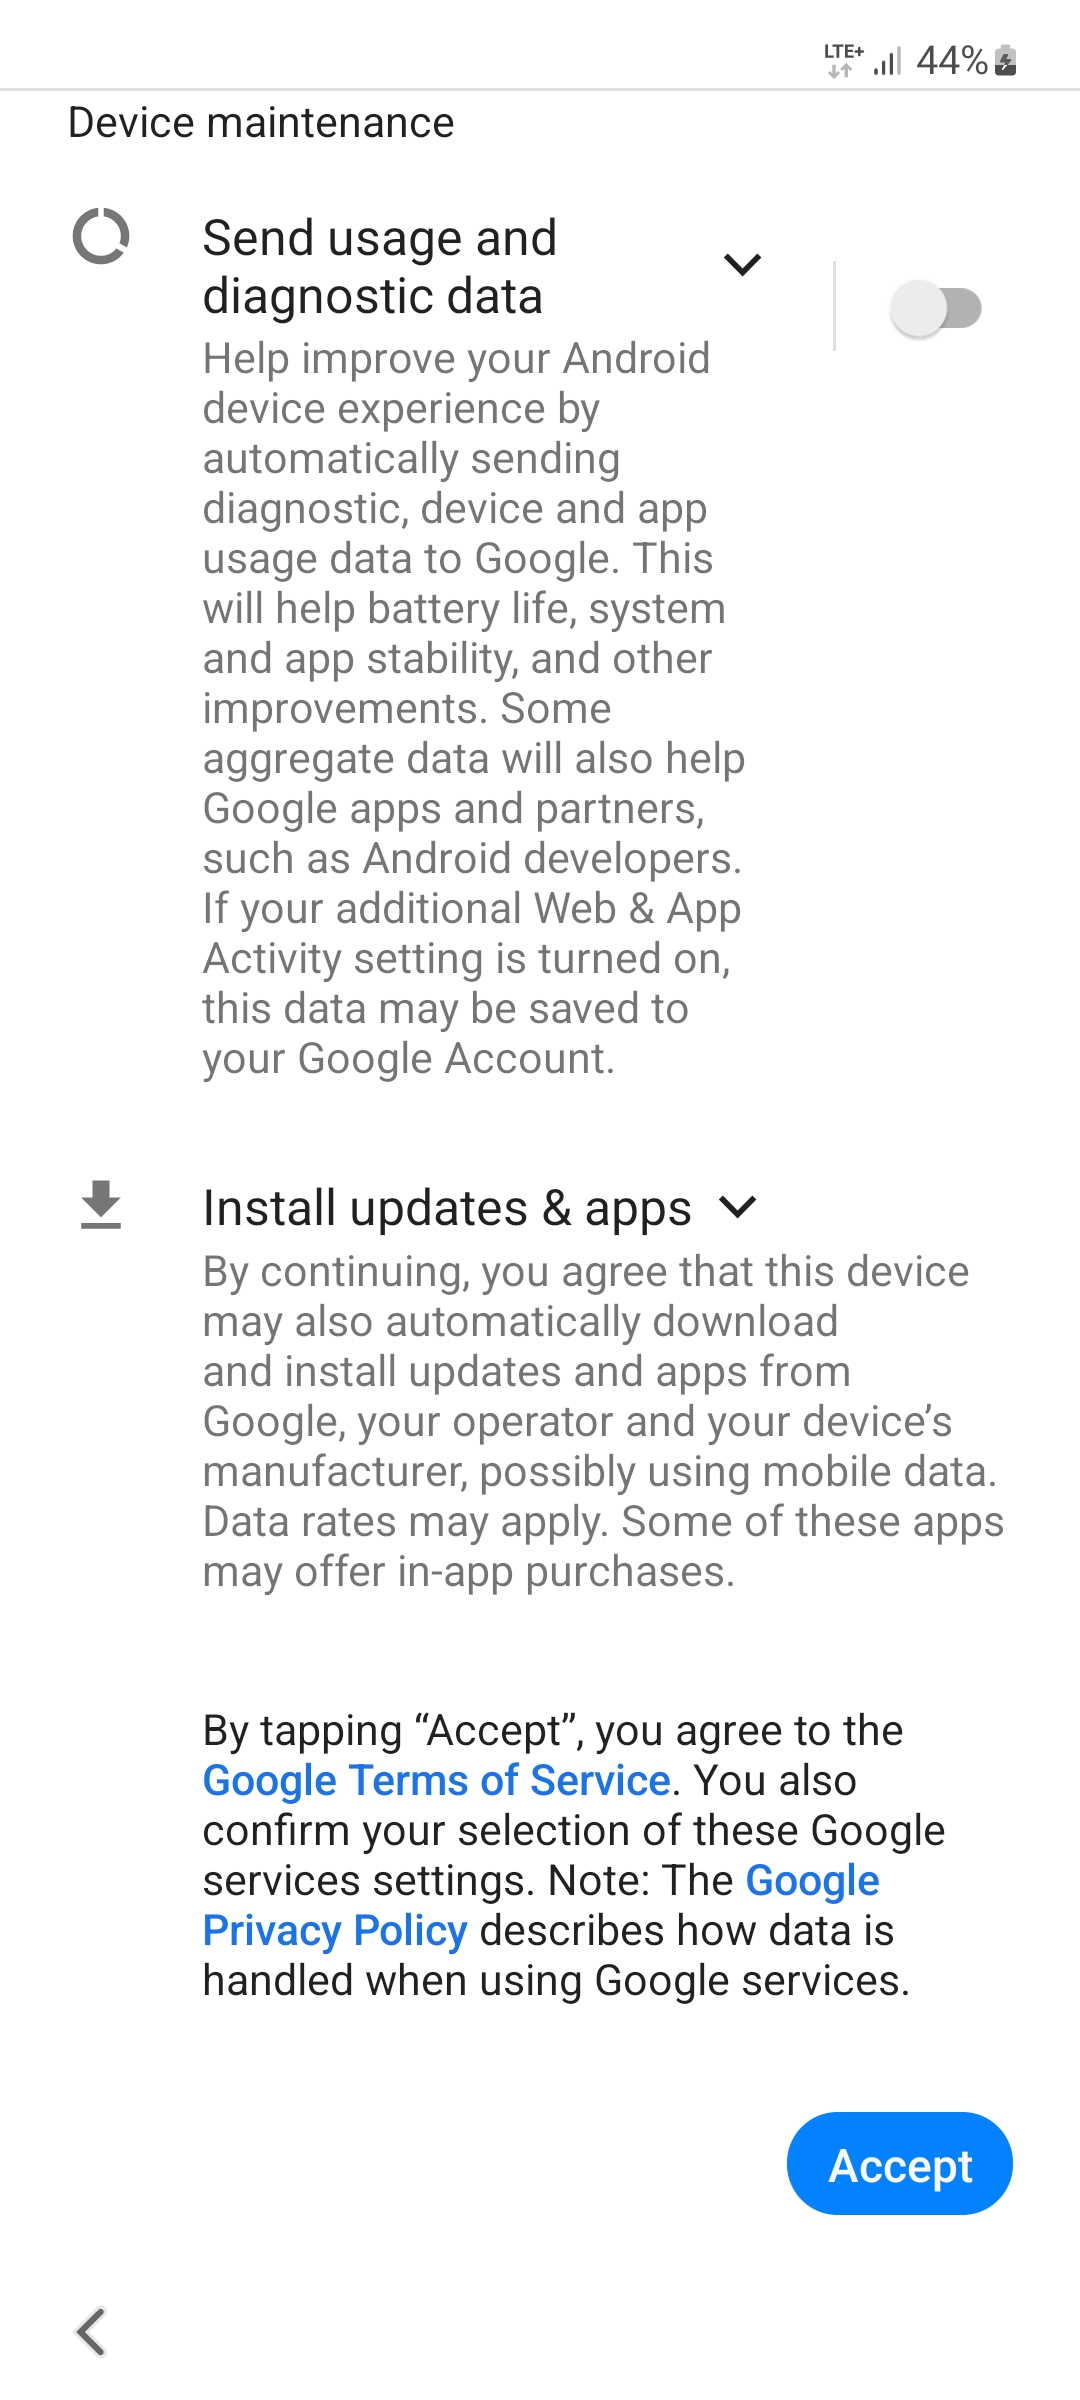
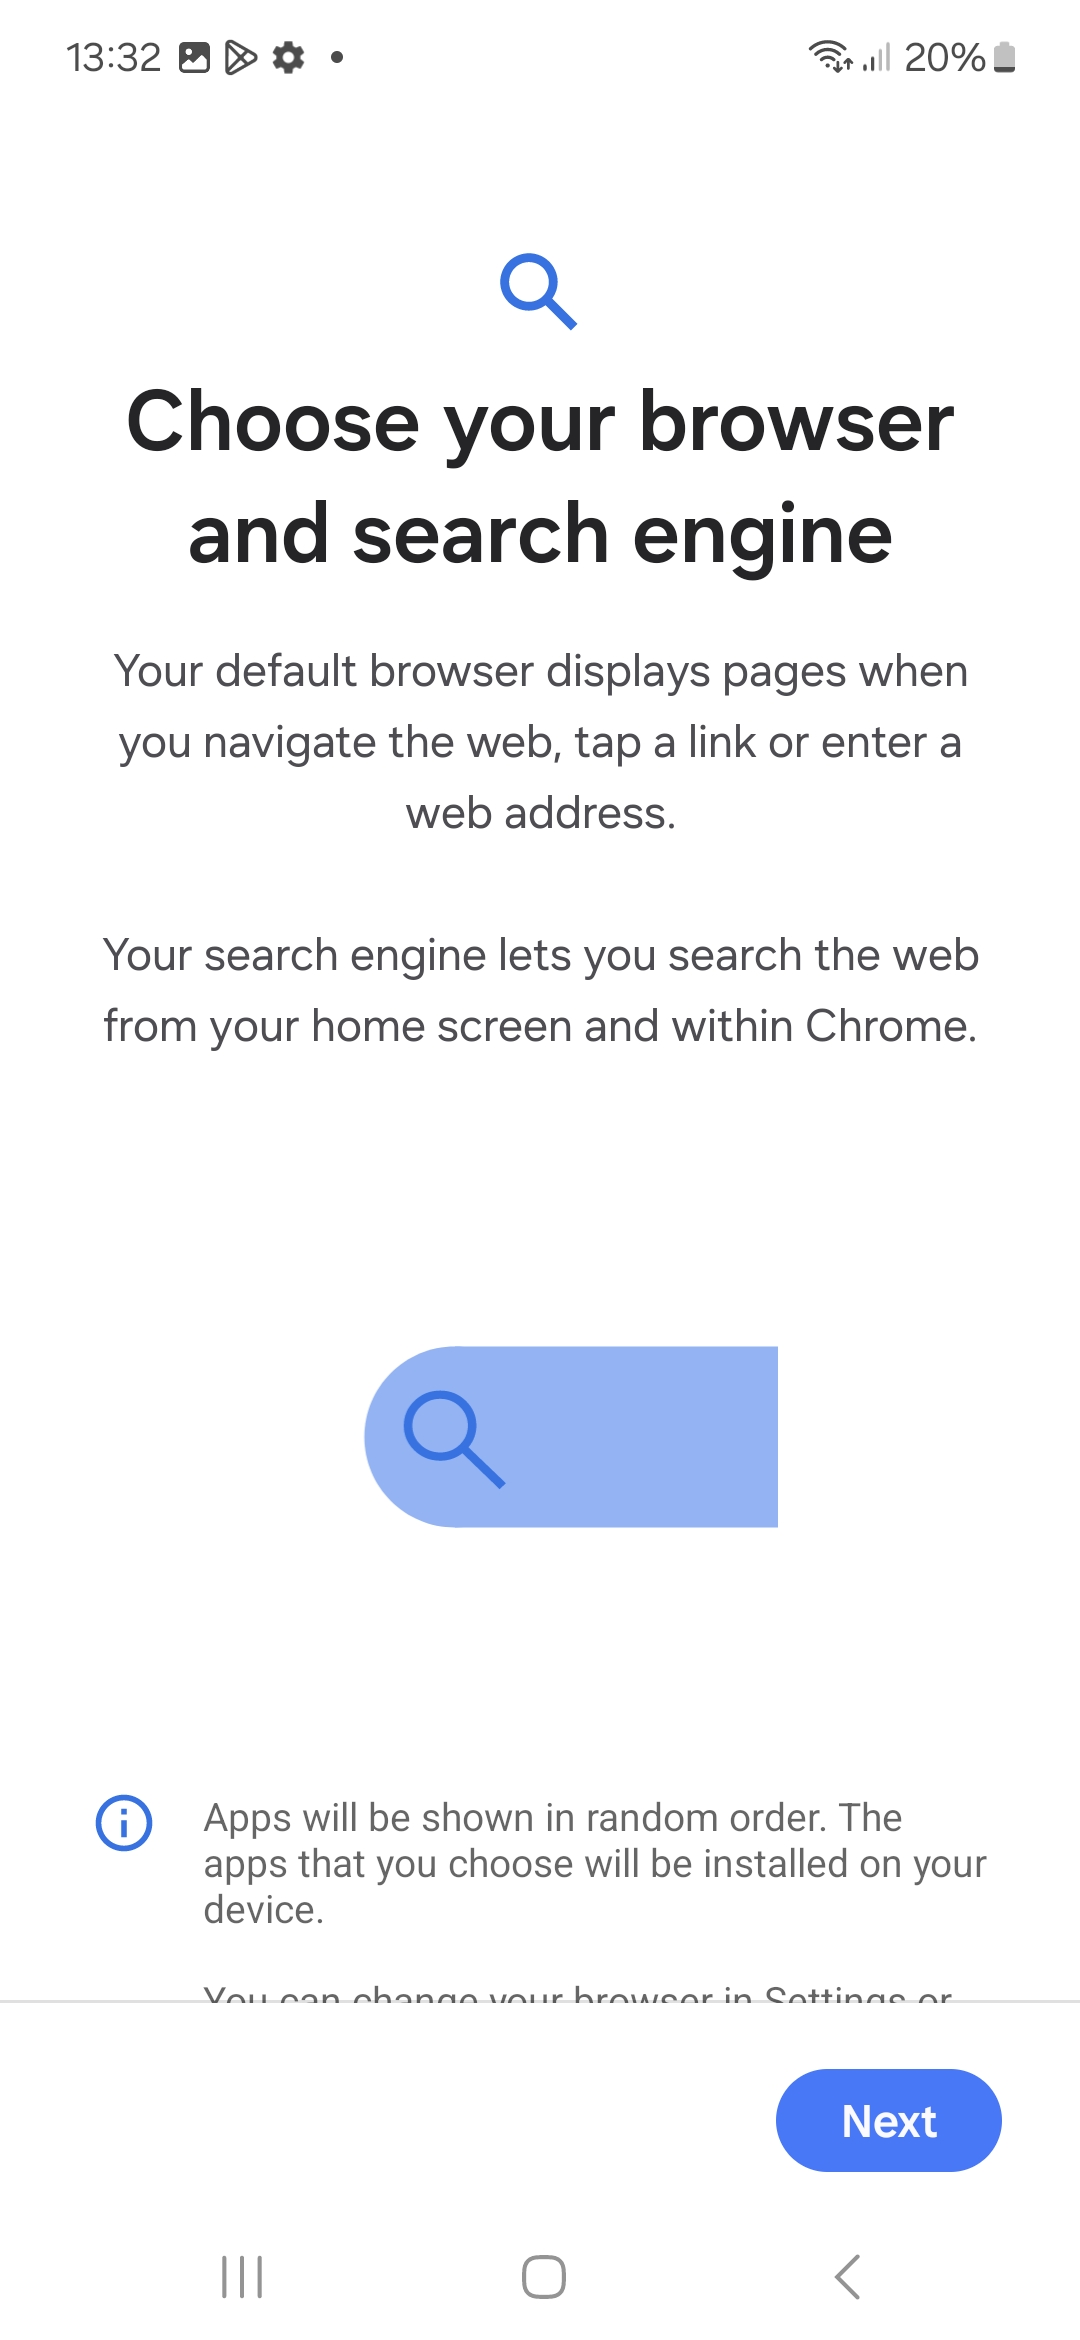
You can now choose your preferred browser and search engine. To do this, click on Next. Select a browser and confirm with Set as default. Follow the same procedure to select the search engine.
6.4 Additional apps
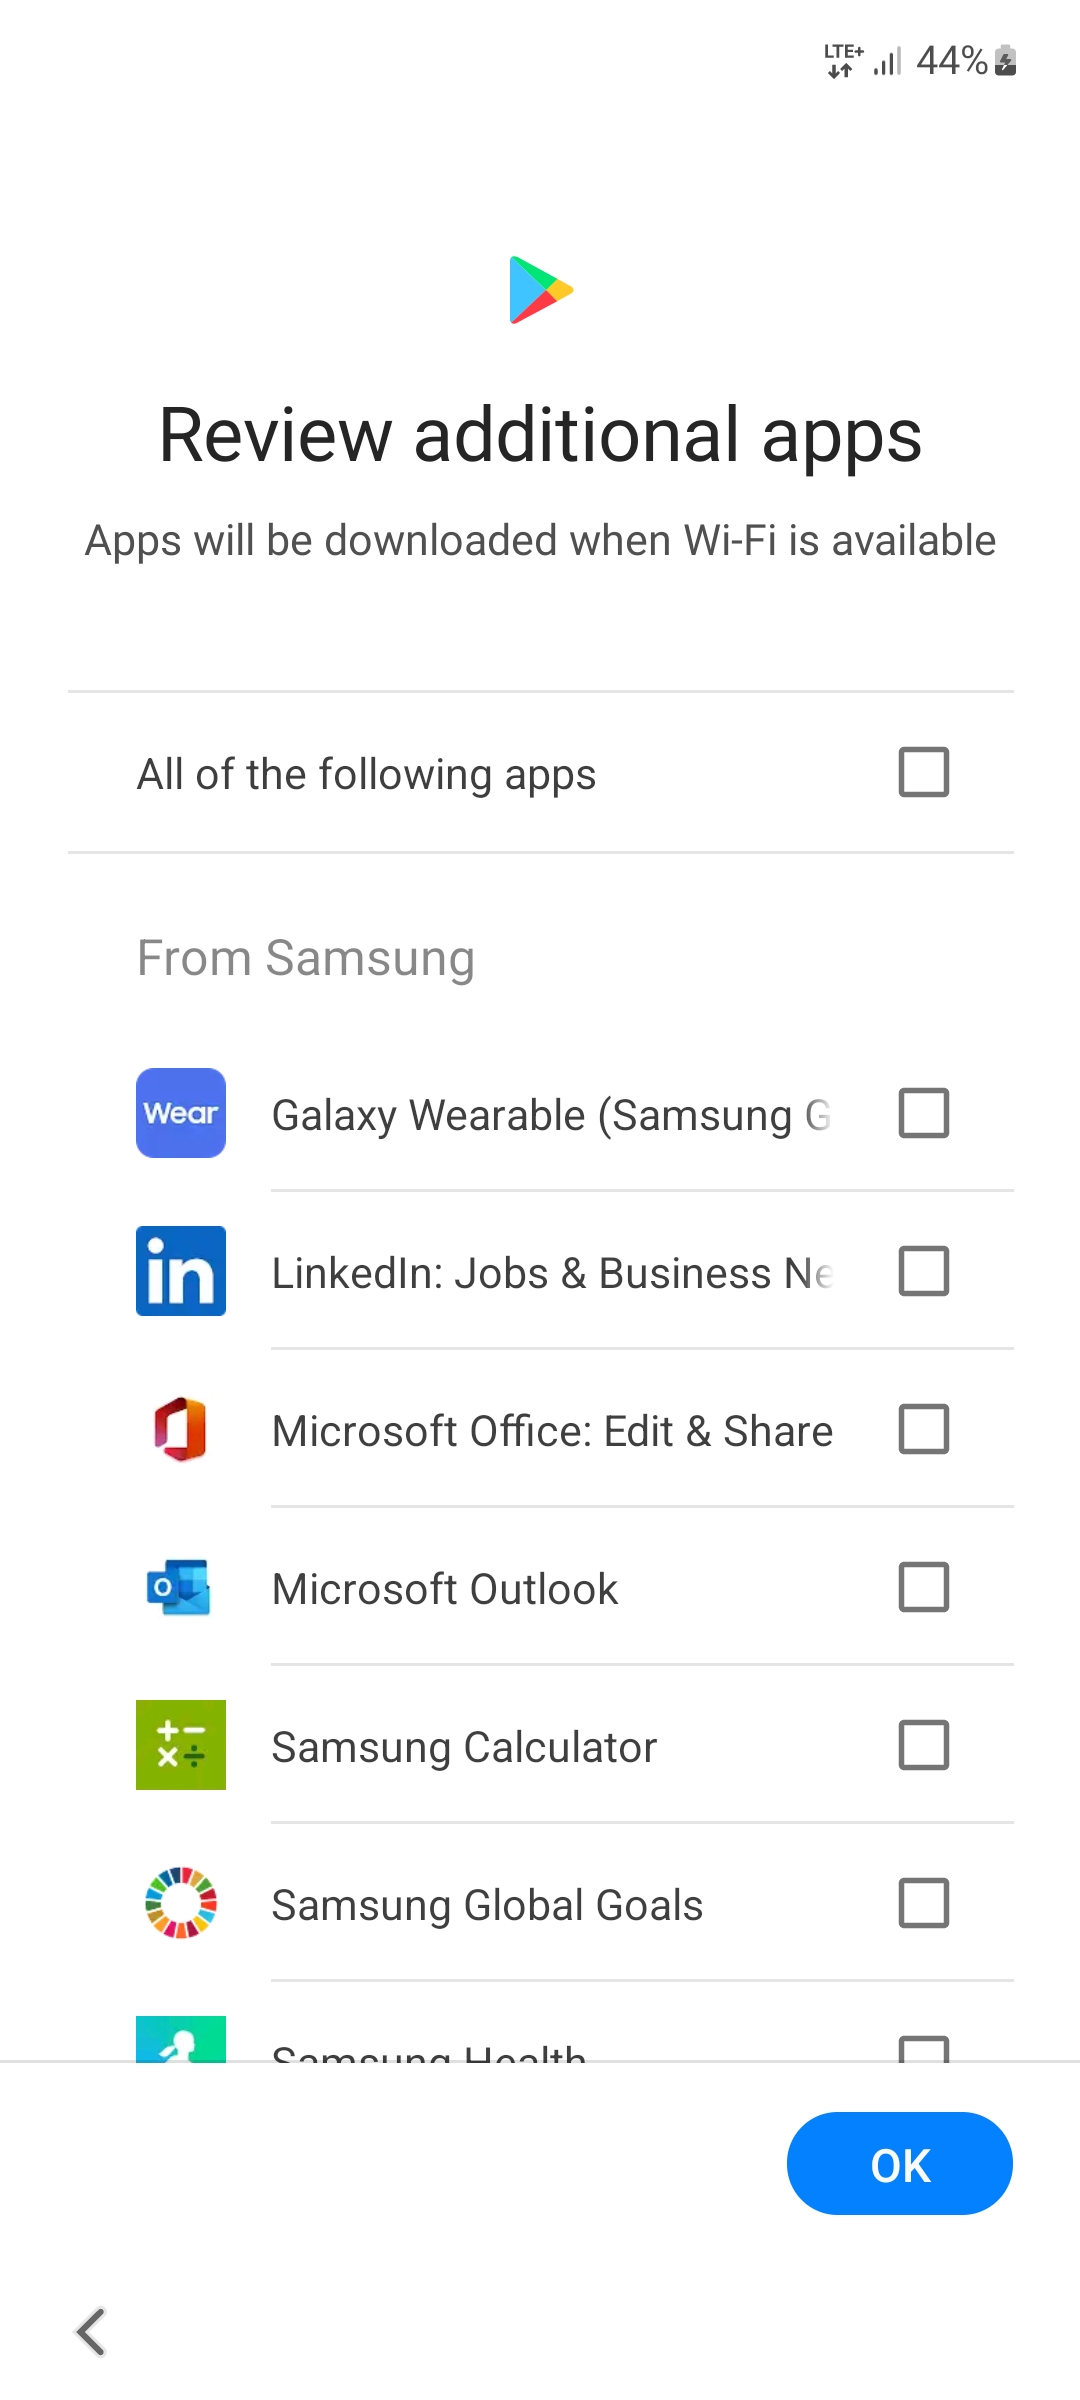
Unselect the checkbox All of the following apps and tap OK.
6.5 SIM manager
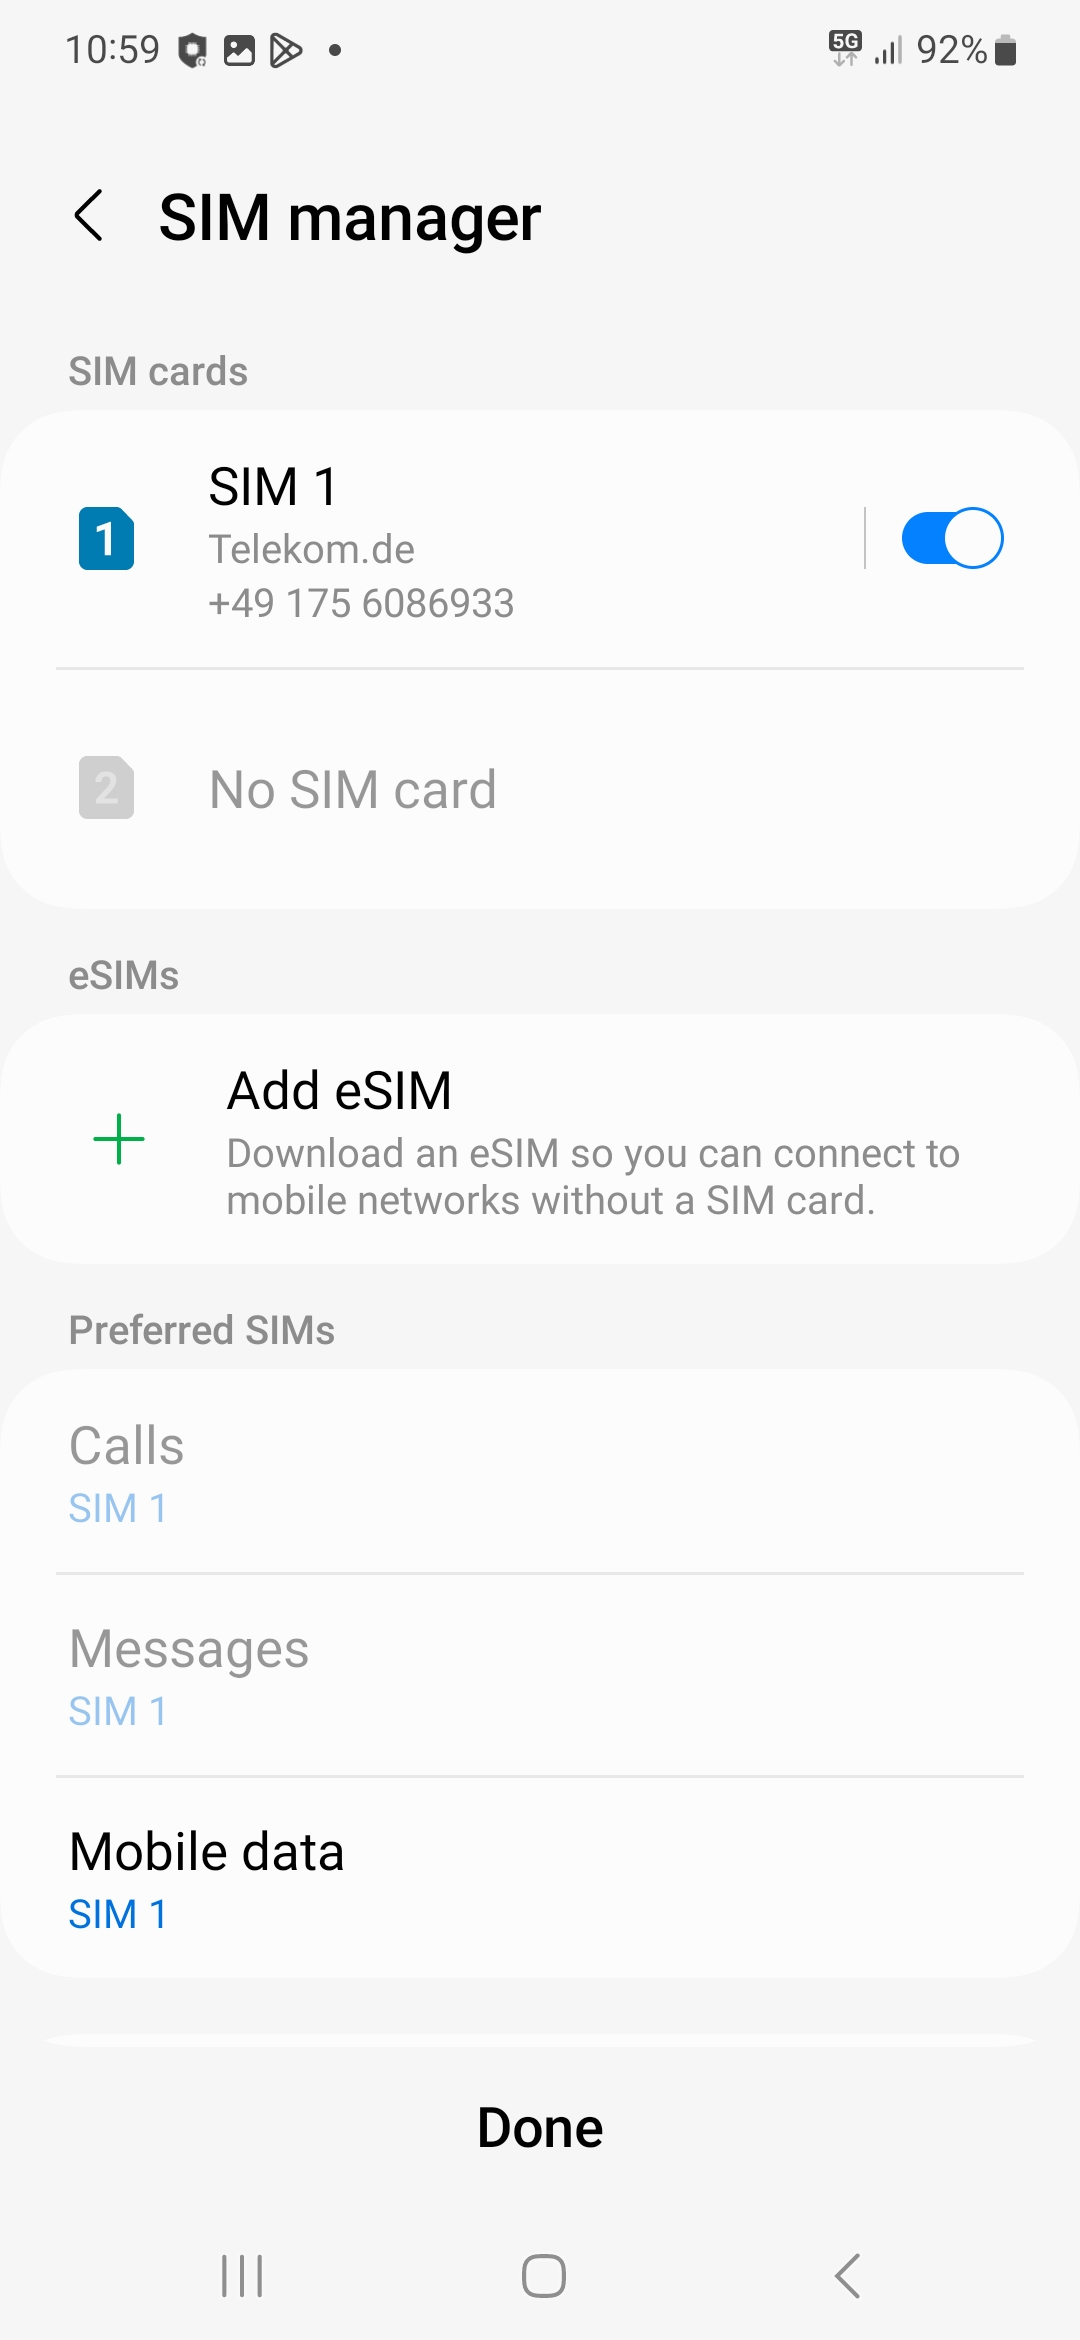
Set the call settings as you personnally like. Tap Done to exit the SIM manager.
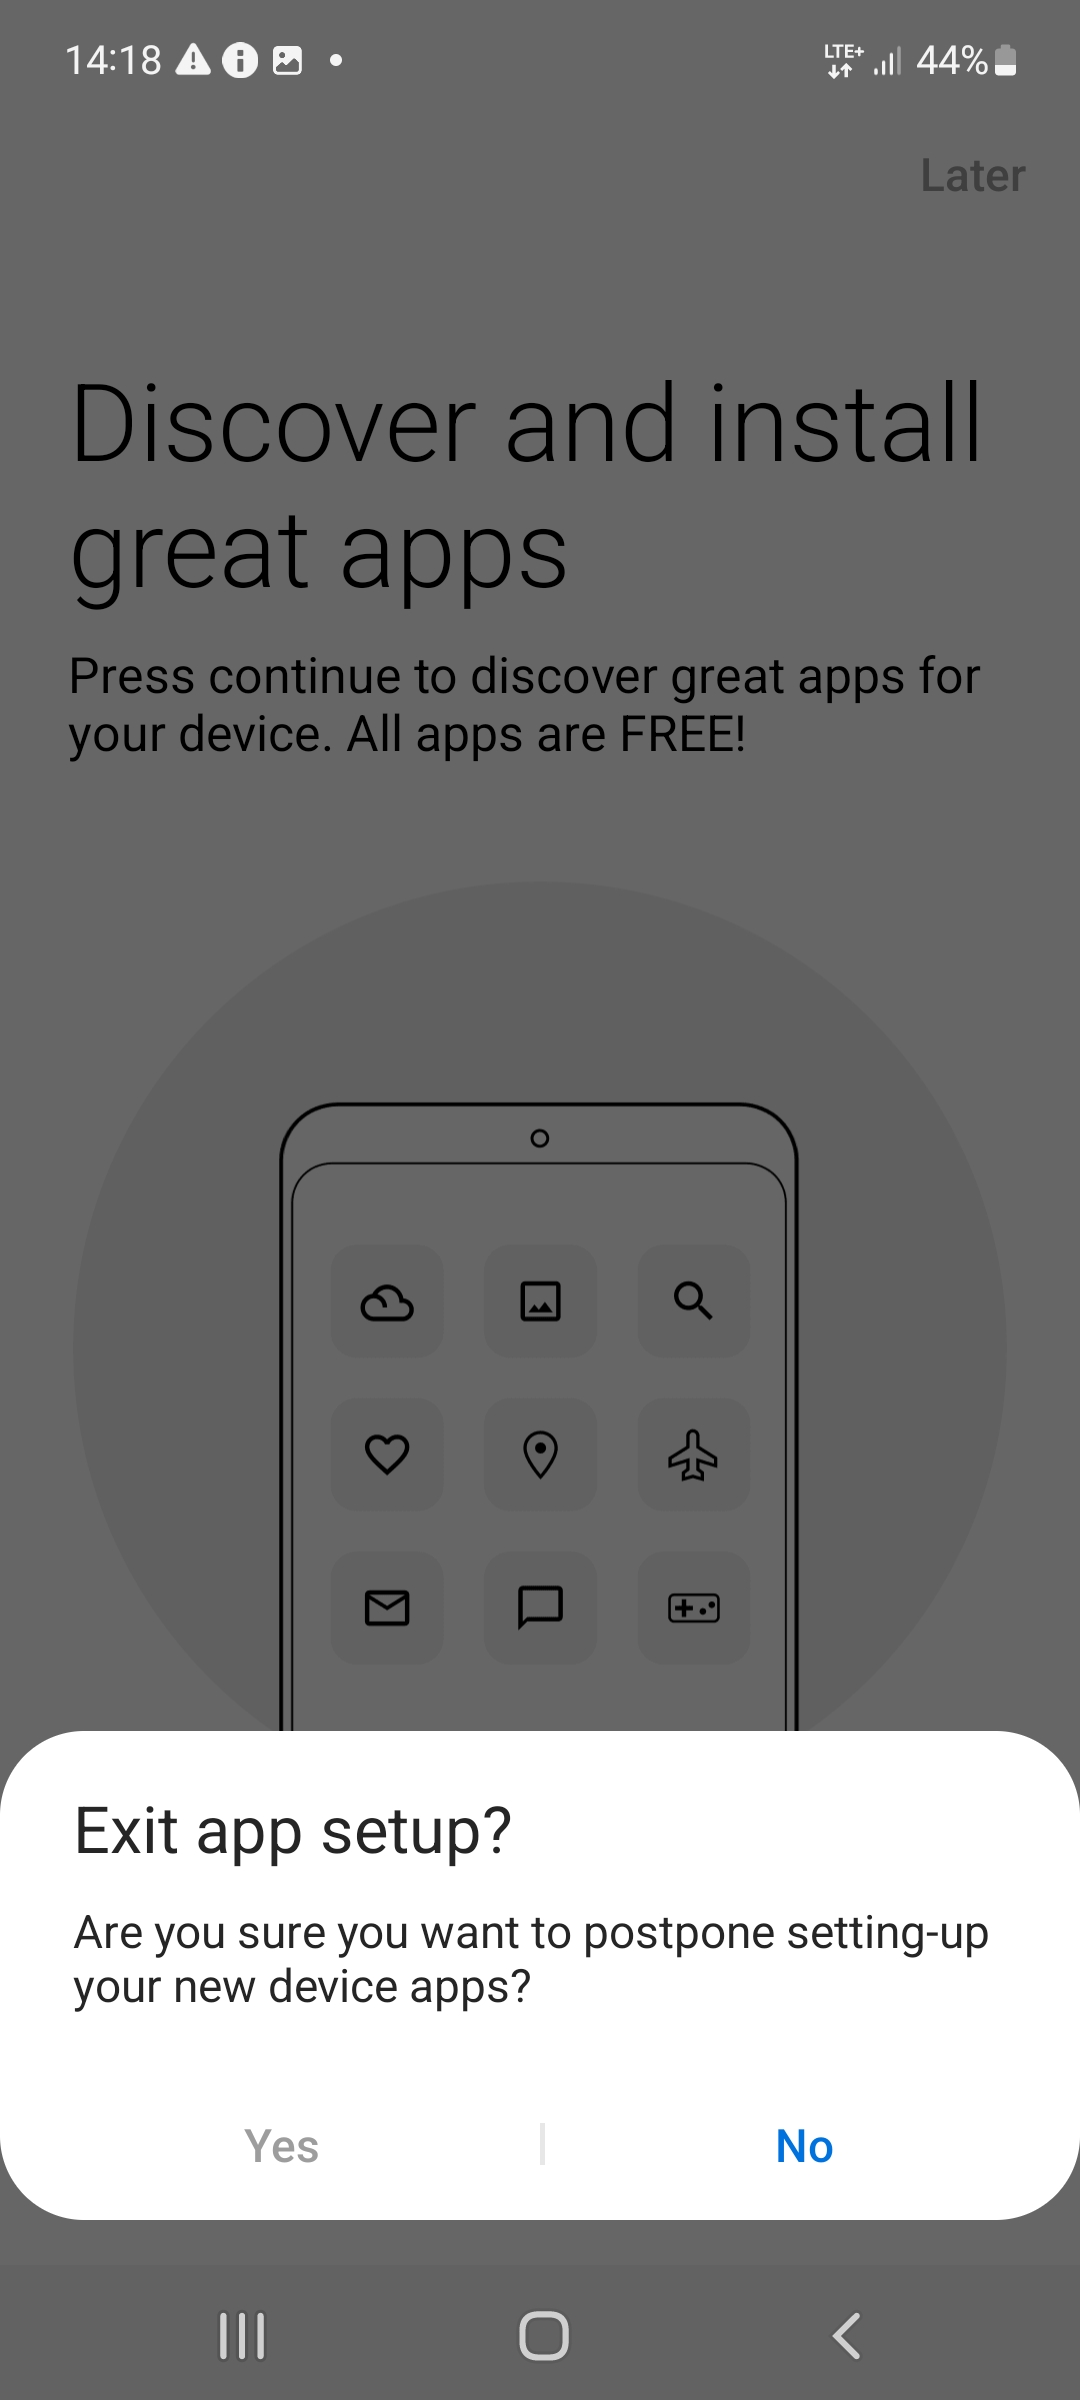
6.6 Discover and install apps
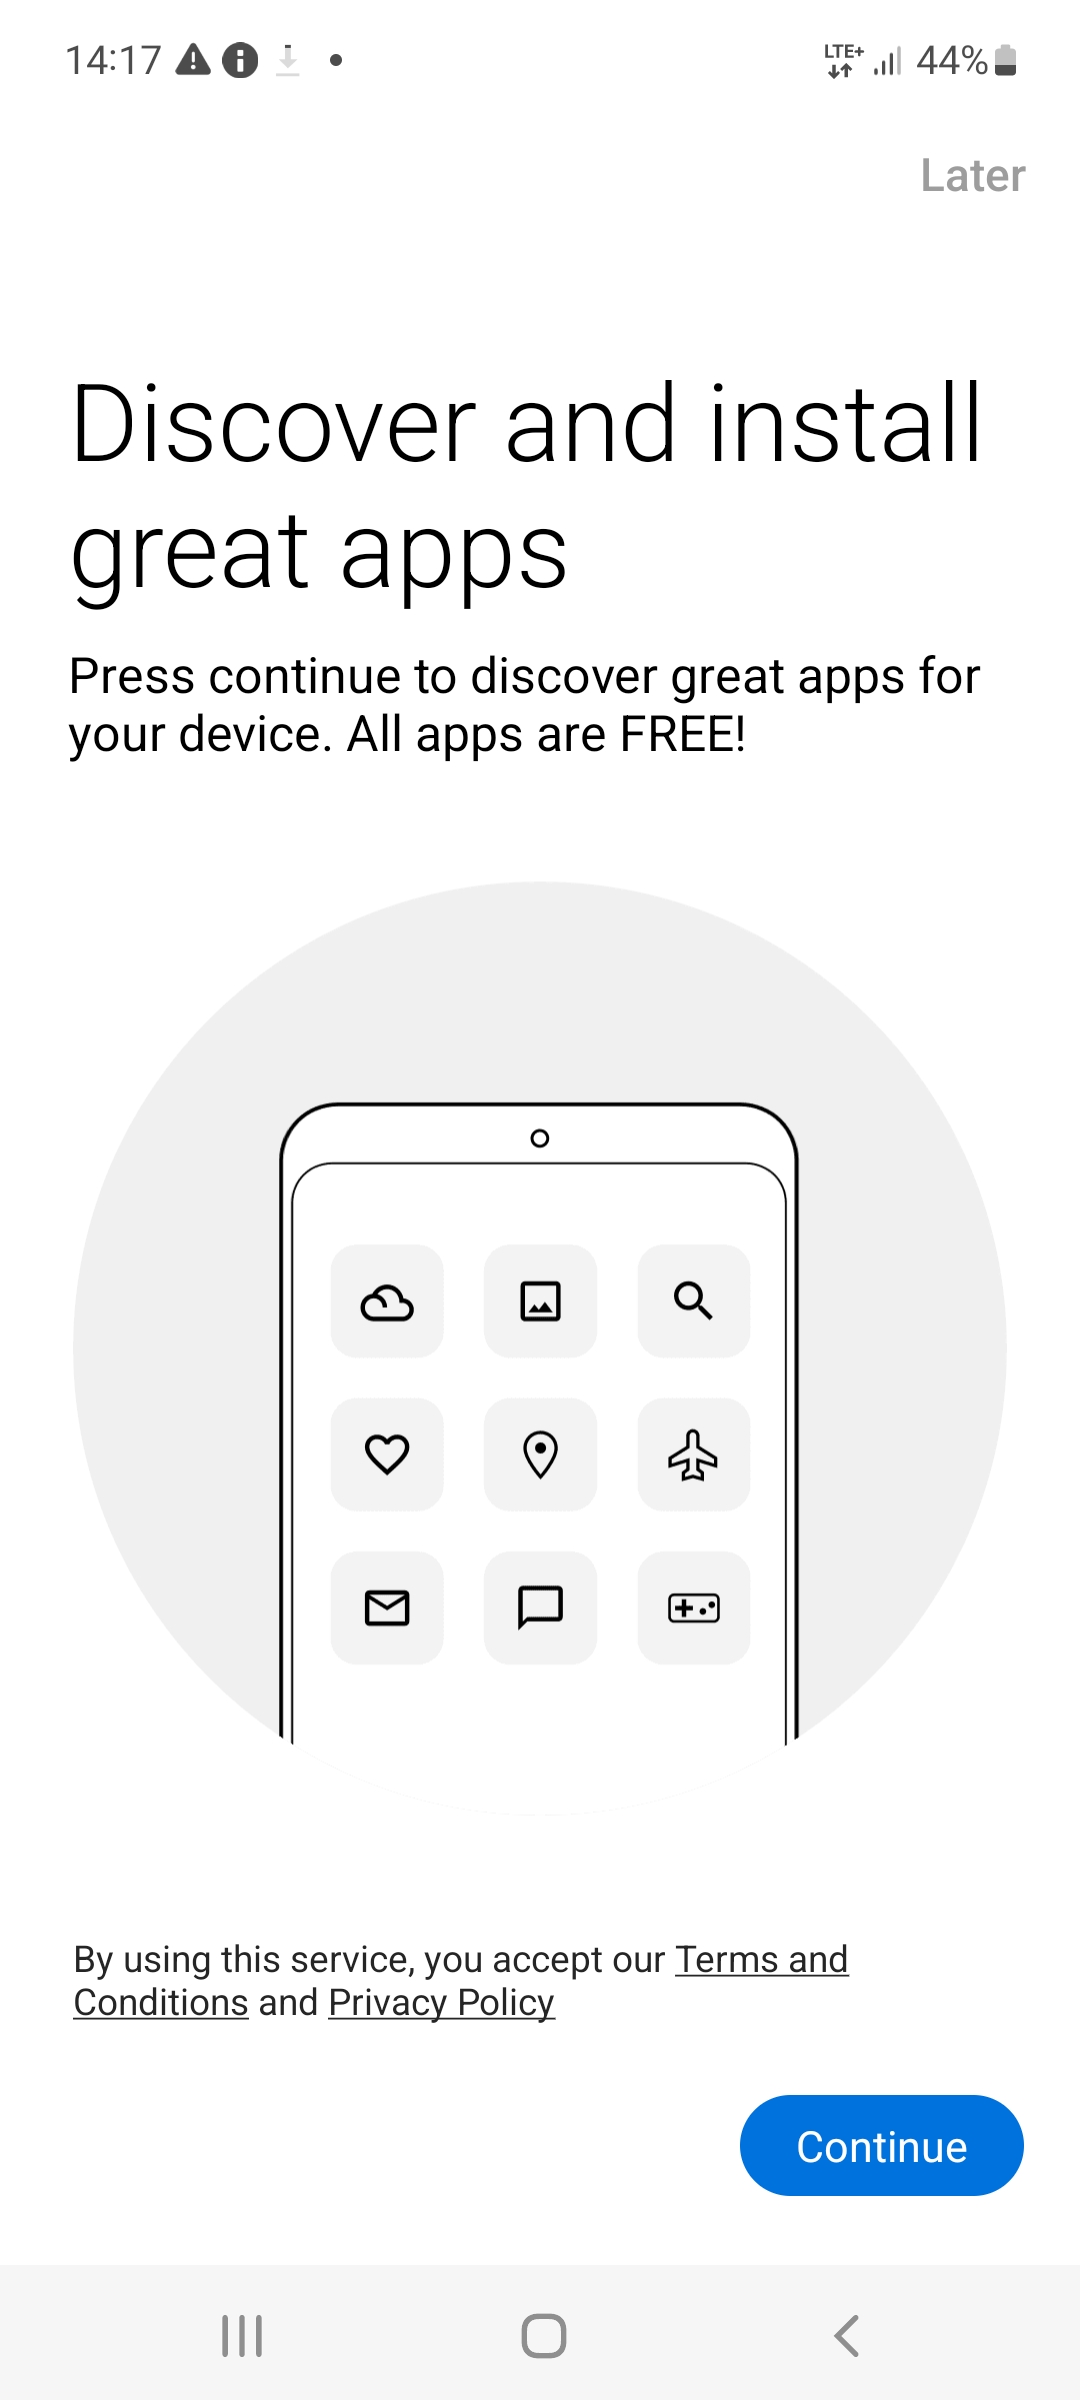
Tap Later and Yes to exit the wizard.
6.7 Samsung Knox E-FOTA
Note
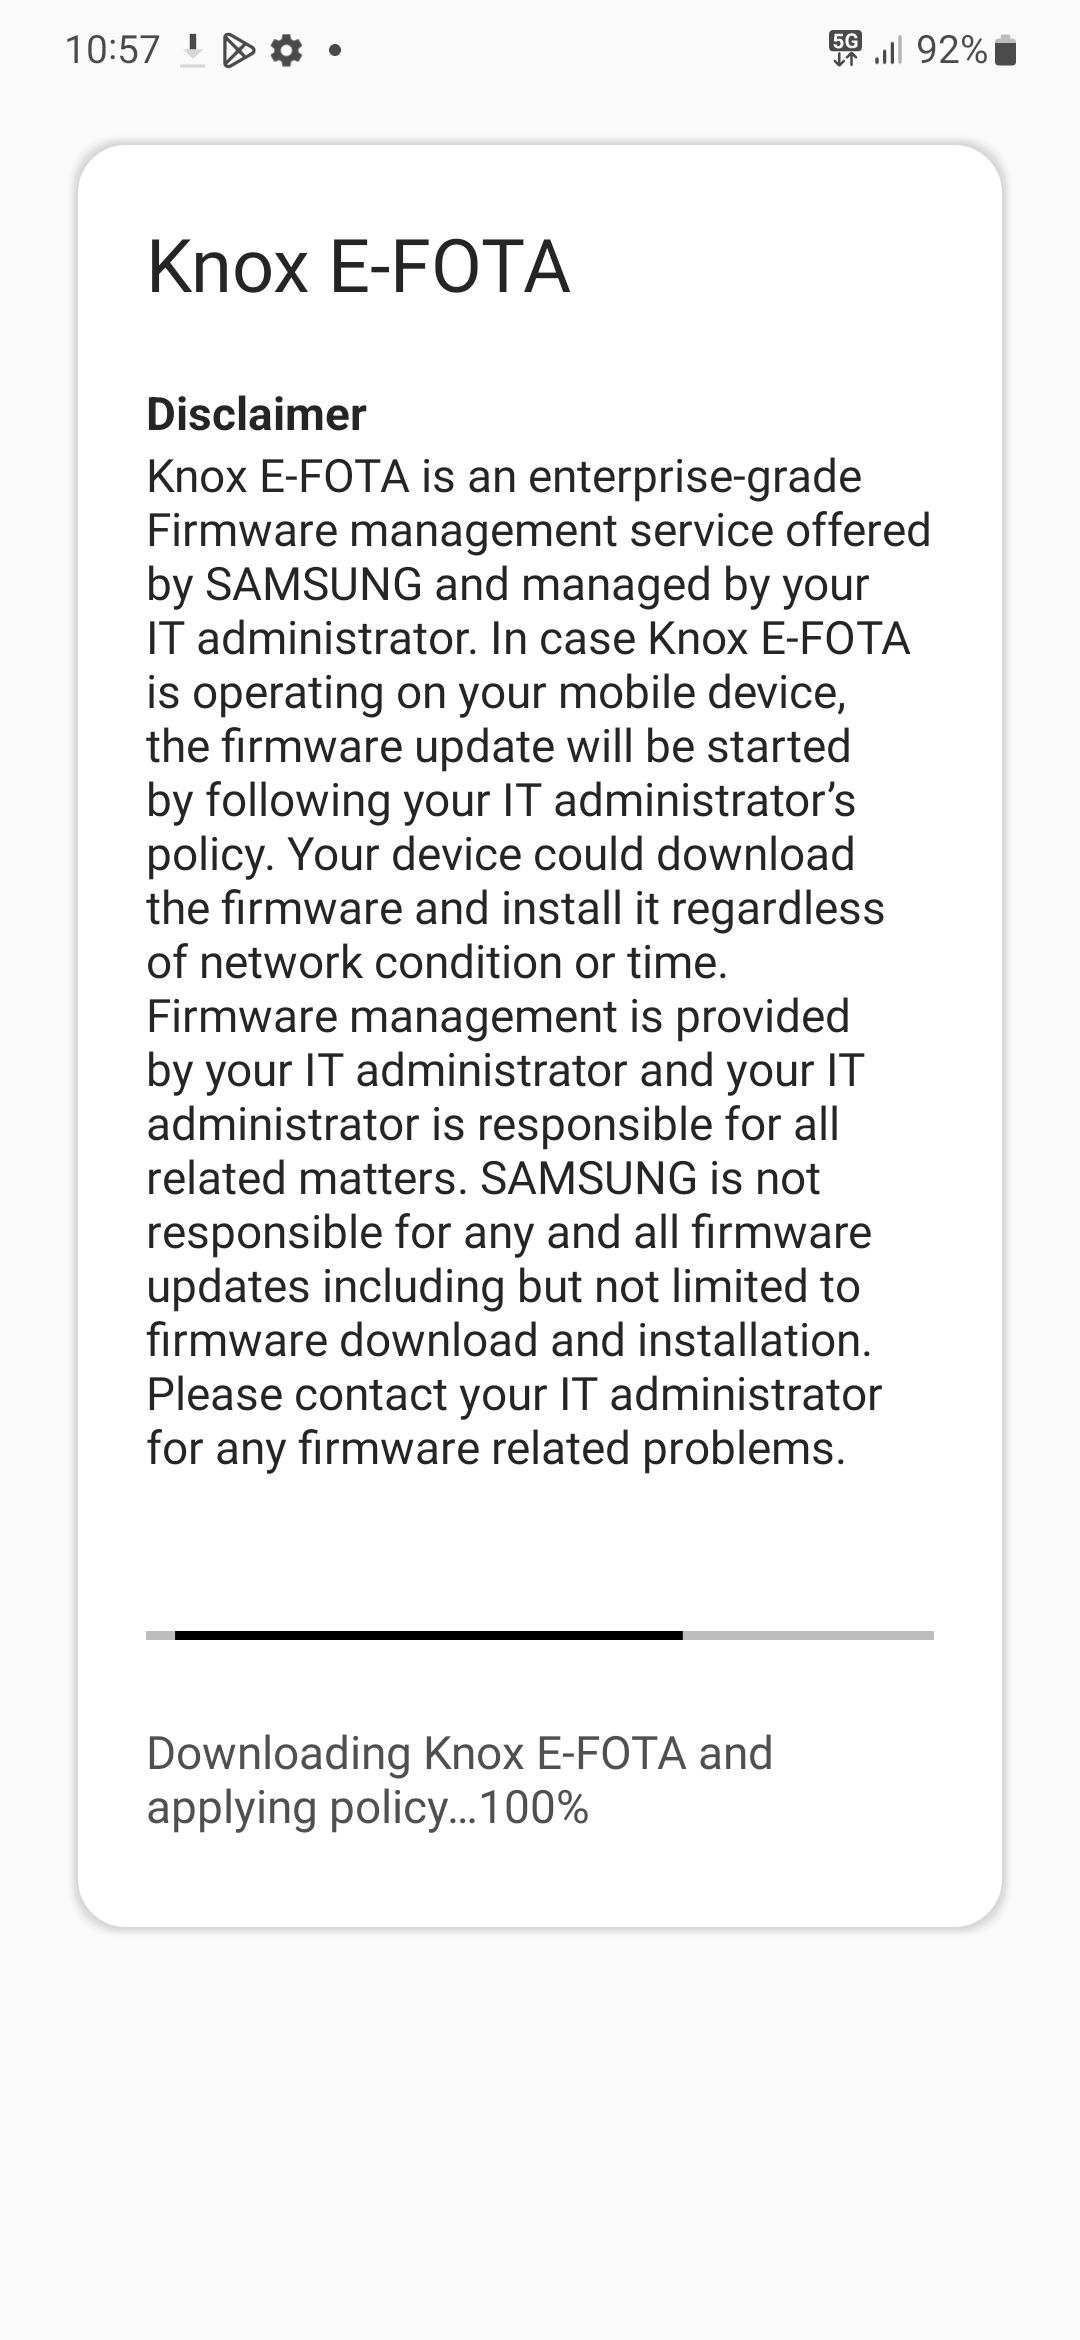
Your Samsung Smartphone downloads and installs new Android OS versions and security patches automatically. More information: IT Campus - Samsung Software-Updates with Knox E-FOTA
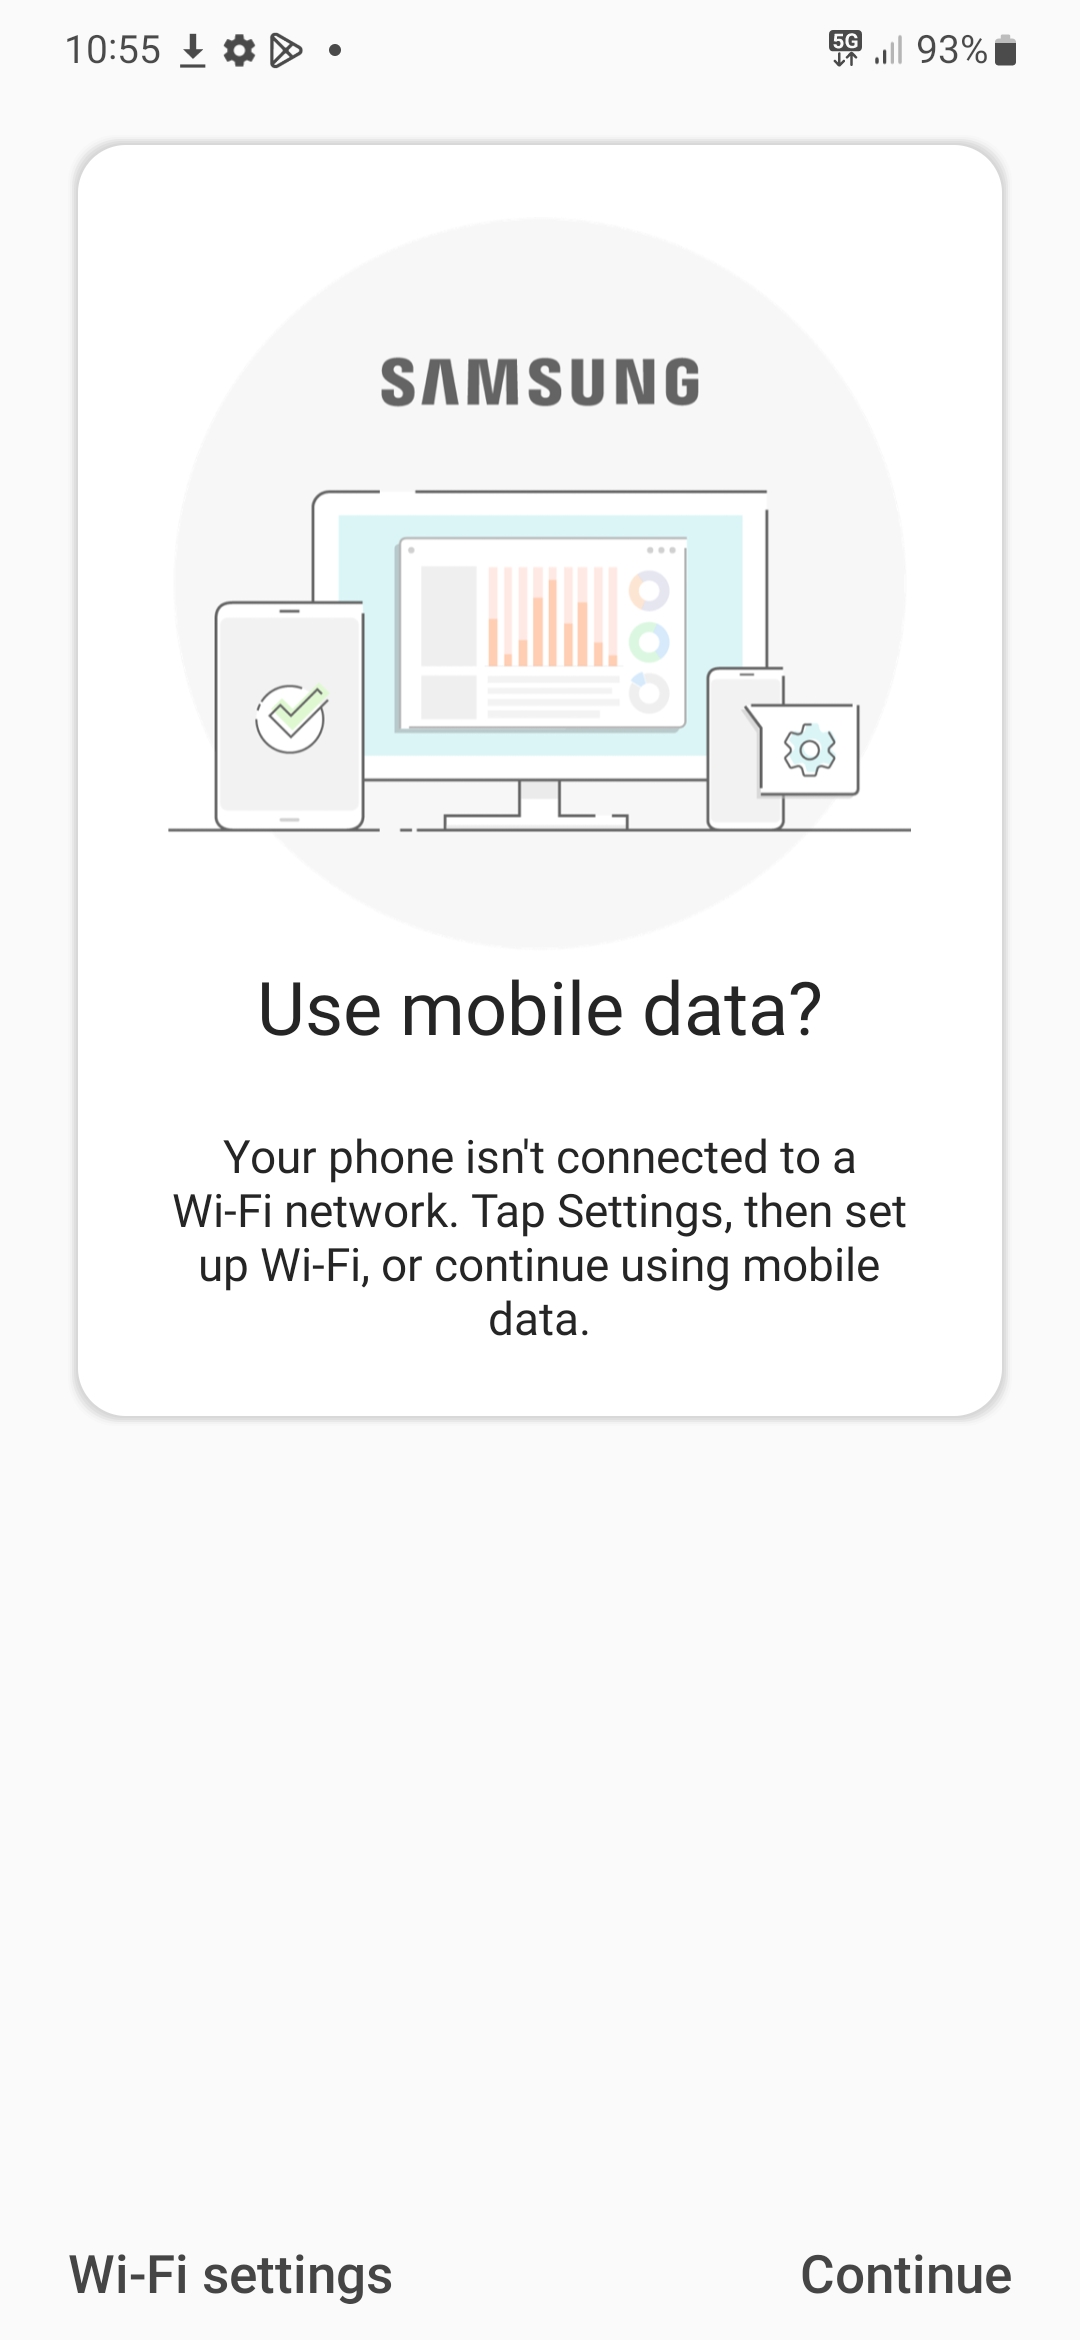
Tap Continue if you enrolled your Smartphone without Wi-Fi. Then wait until Knox E-FOTA policy is synchronized.